How To Create Role Using PFCG - Step by step how to create role using Tcode PFCG with screenshot
1. Go to Tcode PFCG
2. Enter New Role Name you want to create
3. Click "Role " button
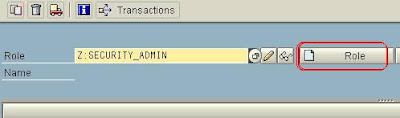
4. Describe the Role in "Description" field

5. Click "Menu" tab
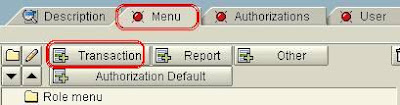
6. Click "Transaction" button to add Tcode
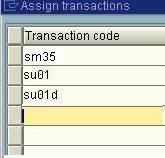
7. Click

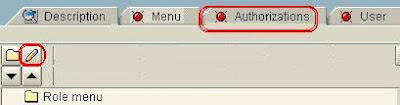
8. Click "Authorizations" tab
9. Click "pencil" button to change authorization
10. Put "Org element value"
11. Save
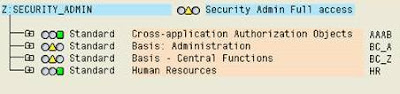
12. Fill in the missing authorization

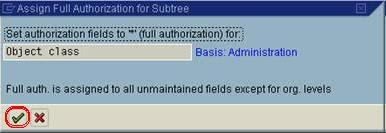
13. If We wish to give full authorization to this role , Hit the "check" button
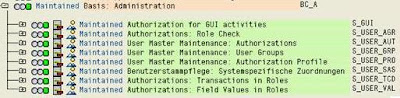
This is the current BC_A Object class
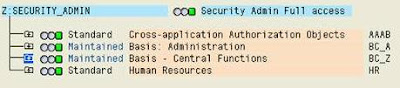
And this is the whole roles list
14. Save the role.
15 Enter profile name.
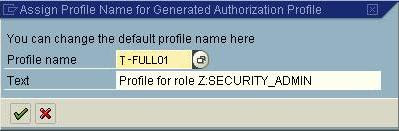
(we can get auto generated profile name from system if we leave it blank).
16. Generate  for authorization
17. Click "user" tab to assign role to relevant users

for authorization17. Click "user" tab to assign role to relevant users
18. Click  to make comparison of users
(source : http://e-mory.blogspot.com)
to make comparison of users(source : http://e-mory.blogspot.com)

